Creating a Soft Box Cover
Step 1
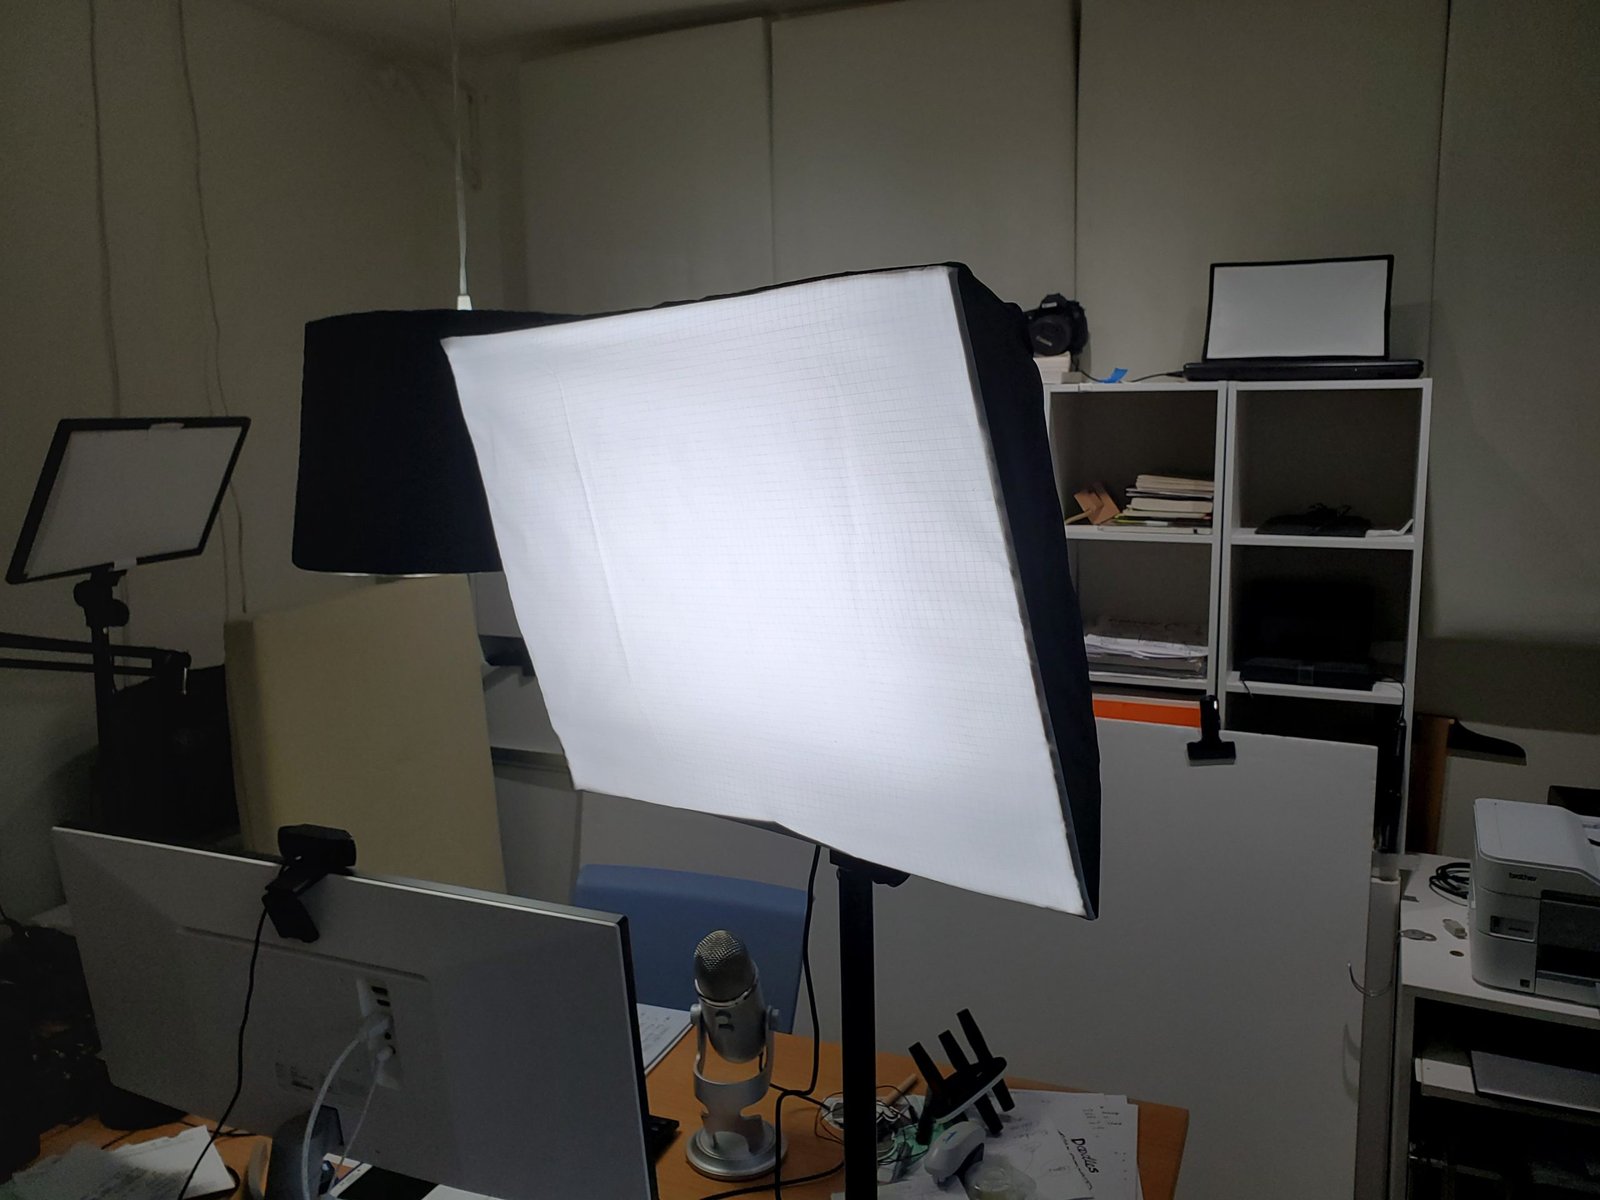
Purchase the led studio light
Purchase the led studio light you want to create the cover for. In this example , the Dazzne D50 desktop lighting kit was purchased on Amazon

The light is adjustable in intensity, but the light is not diffused enough when used for long periods of time. This is especially true when livestreaming a class lesson.
Step 2
Measure the outside dimensions
Measure the outside dimensions of the light which will be the base of the soft box
The box will be constructed out of cardboard and lightweight polyester fabric, so the box was only extended 4 inches to reduce the overall weight on the light itself.

Step 3
Creating the cardboard frame:

##
- Cut out the long and short cardboard pieces and angle the corners at about 30 degrees.
- Tape the corners together with aluminum tape
- Check the fit of the box on the lamp
- Add aluminum tape to the inside of the box. This will allow the light to reflect outward
- Repeat for the second box.
Step 4
Create the fabric pattern


This is the most critical part of the process. Knowing how to sew and how seams are created is the key to making this project a professional success. This step can be hired out to a local seamstress , but will add significant costs to the project.
A seamstress was hired to do the final sewing with directions on how to create the pattern. The pattern was created by pining scrap fabric on to the cardboard box and then creating the required folds and seam attachments.
Step 5
Cut and Sew ( or not) the Cover


- The seamstress used the resulting pattern to cut the separate white and black pieces, knowing the following the pattern the will result in a good fit.
- A cotton cord was sewn around the base of the cover in order to secure it to the light.
- An alternative to sewn the seams is to use 2 sided tape, fabric glue or staples
Step 6
Attach cover to the cardboard frame and light